Image-to-video is deceptively easy.
You convert one image, and you get motion. But production quality depends on one question:
Did the direction preserve product truth?
If yes, motion becomes proof. If no, motion becomes distortion.
Key Takeaways
– Image-to-video is efficient when you lock direction first.
– Gates decide winners: geometry truth, identity stability, and caption/offer alignment.
– Export variants should follow the same gate logic across channels.
The 3-part workflow
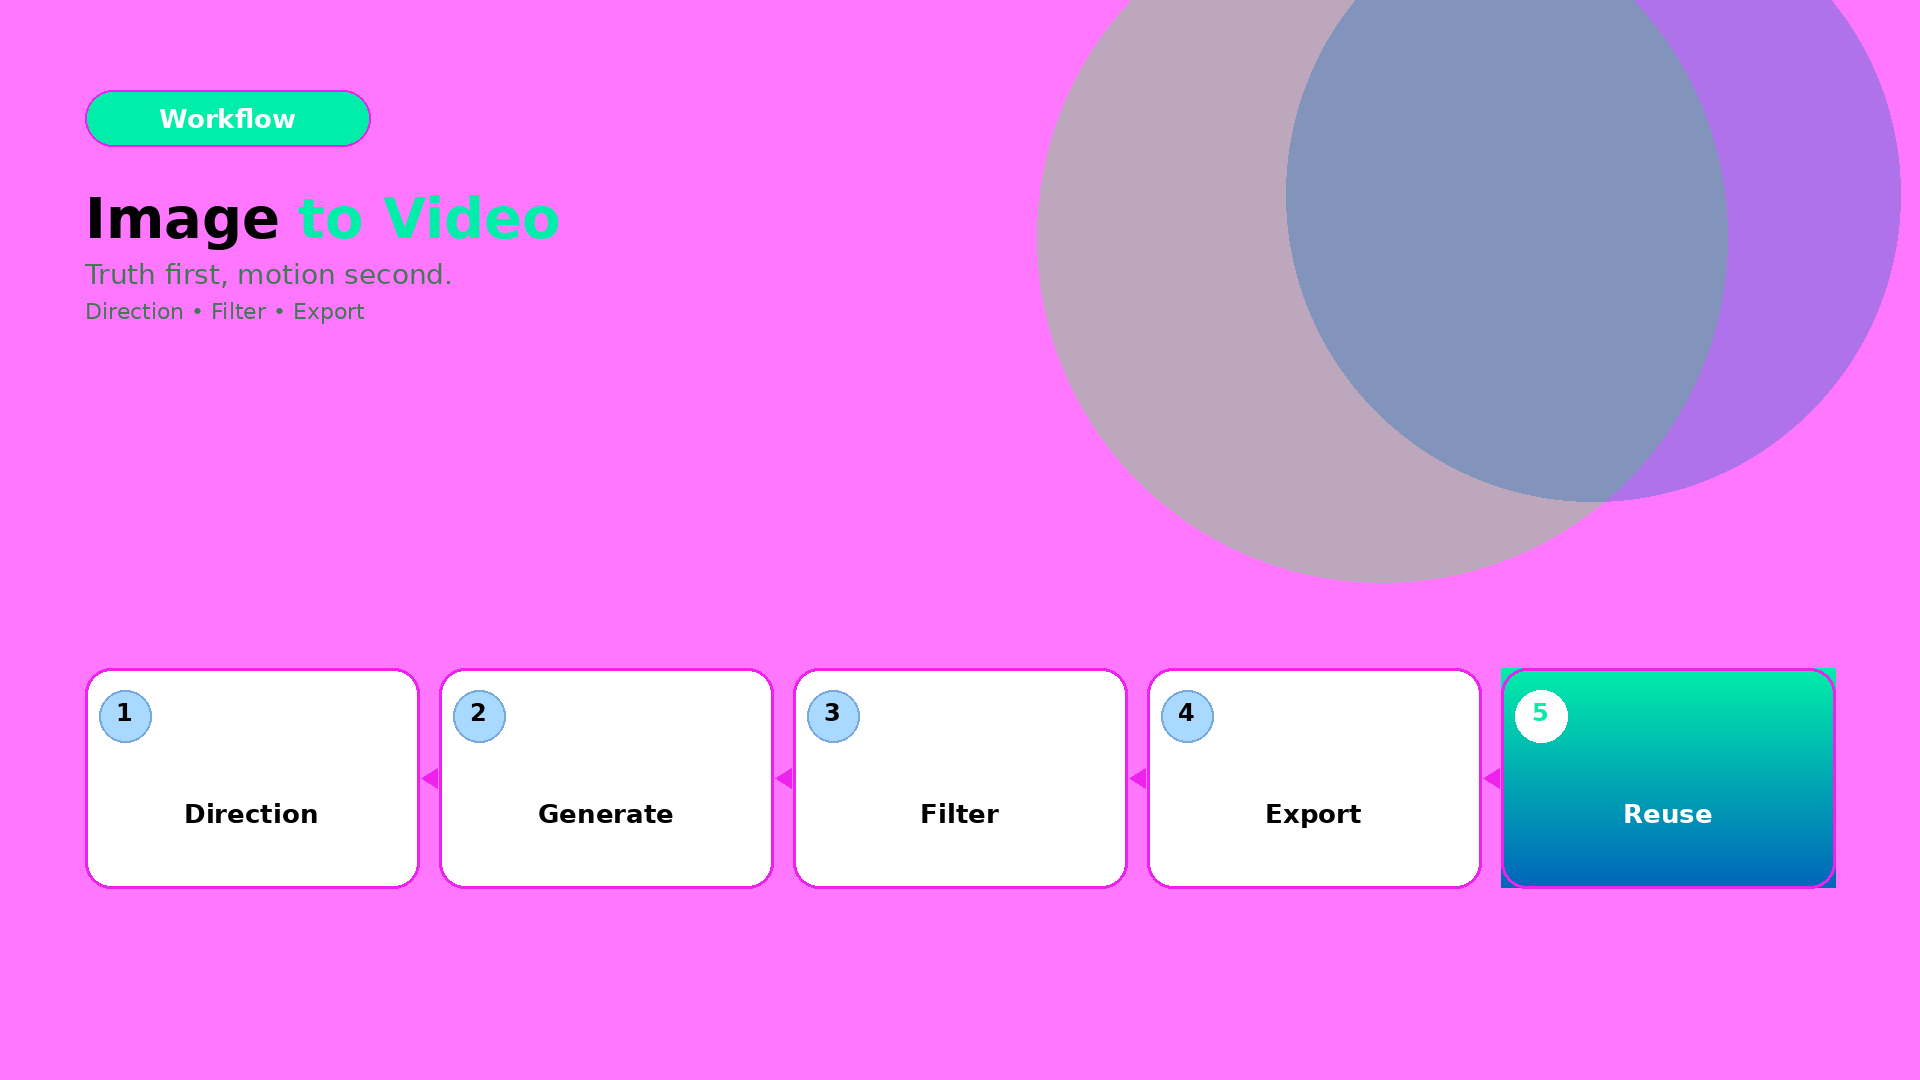
1) Direction kit (lock what must stay true)
Define:
- what moves (pose/camera feel),
- what stays true (geometry, label readability, character identity cues),
- what the scene must communicate (hook, proof, offer).
This is the “creative direction” layer. Not another prompt.
2) Generate candidates (then filter, fast)
Generate multiple candidates under the same direction kit. Reject early with gates:
- warped edges / warped proportions,
- unstable identity cues,
- text/label unreadability after resize.
This prevents spending time on polish for failures.
3) Export channel-safe variants (without rework)
Export with rules:
- correct aspect ratio,
- stable safe zones for text and CTA,
- consistent shadow family and background logic.
Now your output becomes a reusable creative asset, not a one-off clip.
What to do next
If you want the deeper version of the same workflow, read:
And if your bottleneck is “not enough angles”: